The steps below will guide you toward connecting to Salesforce data via the Salesforce connector:
- Upon opening Tableau, you should see the option to connect to Salesforce already, as shown in Figure 3.1:
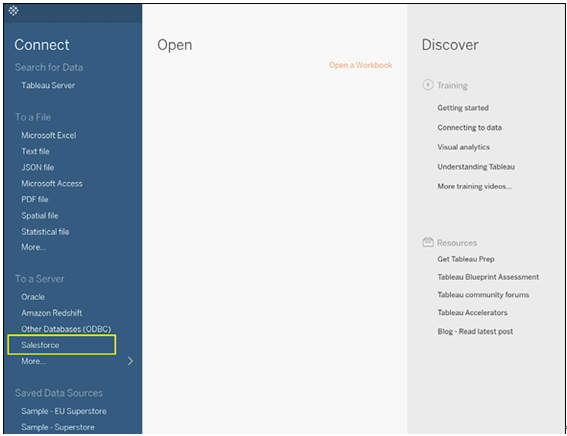
Figure 3.1: Connector pane in Tableau showing Salesforce as a connection option
- If that option is not available to you, click on More to open the full list of connection possibilities in Tableau as can be seen in Figure 3.2. You will see Salesforce in the list, which is helpfully organized alphabetically.
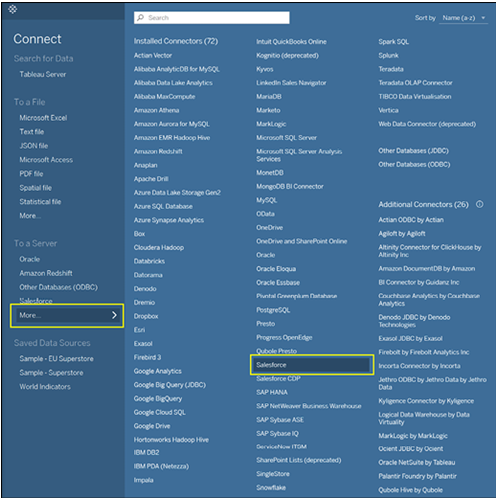
Figure 3.2: Full list of data connection options in Tableau, with Salesforce listed alphabetically
- Authenticate your Salesforce site using your credentials as in Chapter 2, Setting Up Salesforce with Tableau (Figure 3.3).
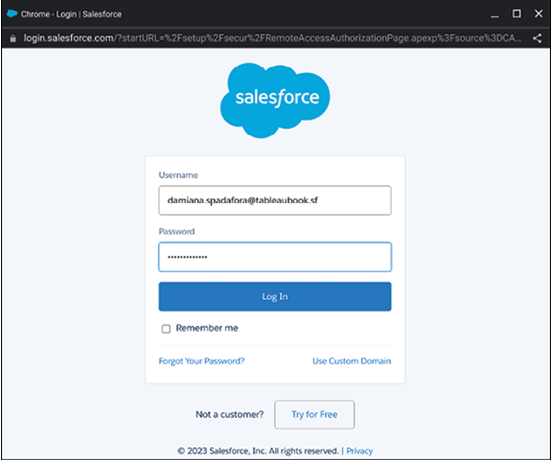
Figure 3.3: Authenticating to Salesforce using login credentials
- Click on Allow, as shown in Figure 3.4:
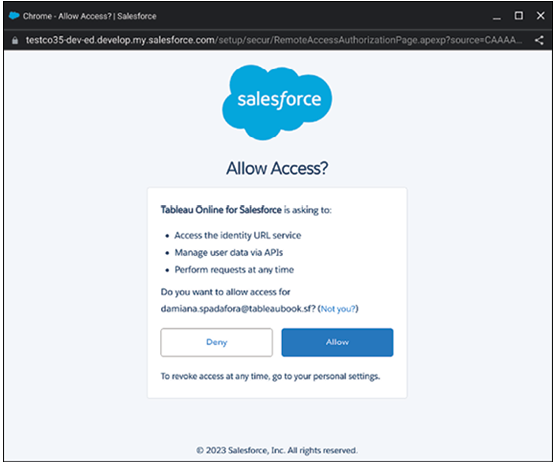
Figure 3.4: Allowing Tableau access to Salesforce data
If the previous steps have been successful, you will now see, on the left side of your screen, all the different Salesforce objects available for your analysis.
If you are using Tableau Cloud, you can also configure your Salesforce environment in Tableau using the following steps:
- On your Tableau Cloud homepage, click on Settings in the bottom left corner of your screen.
- Click on Integrations, as shown in Figure 3.5:
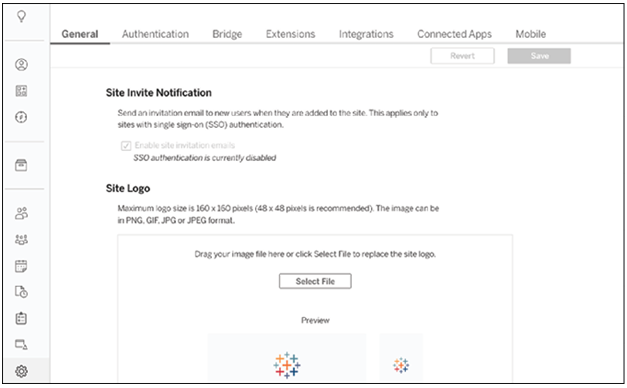
Figure 3.5: Settings menu in Tableau Online
- Click on Connect to Salesforce, as shown in Figure 3.6:

Figure 3.6: Connecting Tableau Online to Salesforce
- Follow the same steps as before to authenticate and allow Tableau Online access to your Salesforce data.
Connecting to your Salesforce data in SQL
Salesforce can be stored on a variety of SQL-based databases. The steps below were performed using a SQLite database, but they can be applied to all SQL databases shown in the new data source menu in Tableau. From the welcome screen, follow the below-mentioned steps:
- Click on More under the To A Server menu.
- Select the kind of database you are using. As we are using SQLite, we will be choosing Other Databases (ODBC), as shown in Figure 3.7:
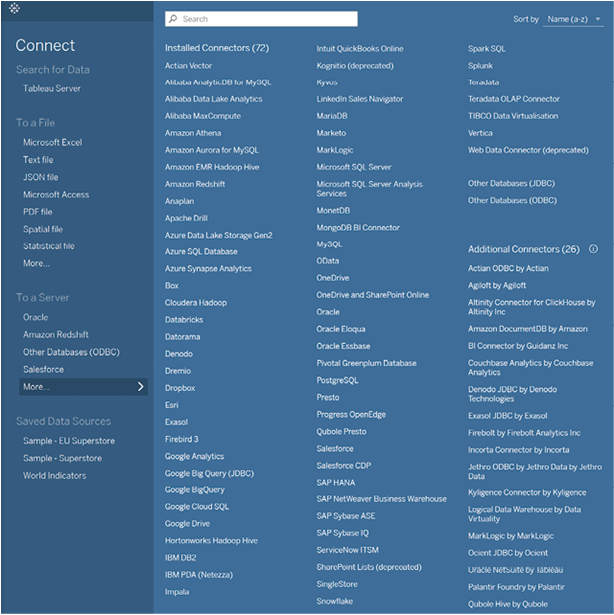
Figure 3.7: Overview of Connections
- Follow the prompts to authenticate to your database.
Just as before, if the previous steps have been successful, you will now see on the left side of your screen all the different Salesforce objects available for your analysis, as shown in Figure 3.8:
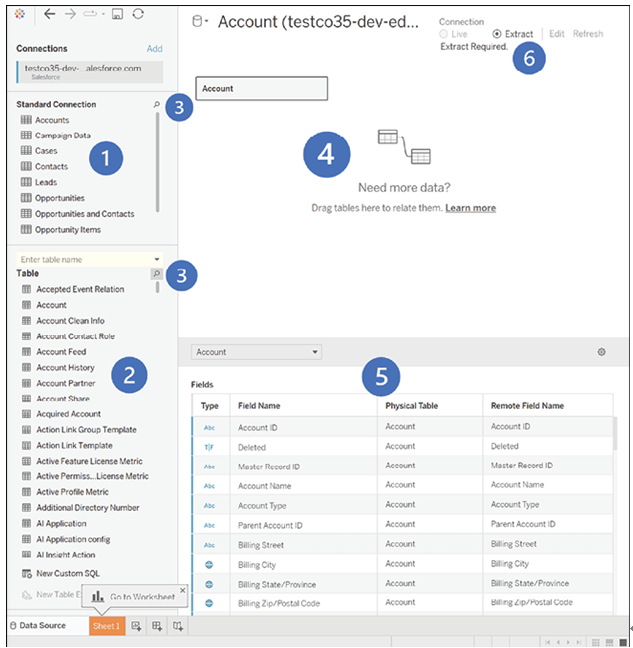
Figure 3.8: Salesforce data objects available for analysis in Tableau after a successful connection